Showing posts with label halloween. Show all posts

Thursday, October 31, 2013

Happy Halloween


HAVE A SAFE HALLOWEEN!


Picture taken by yours faithfully!


Tuesday, October 1, 2013

DIY Tuesday: Confetti Pumpkins

Is it October?

Gear up with Pumpkins folks! Time to set up your doorsteps, mantles and bring in the look of Fall.


Here's one great idea to give your pumpkins some glimmer!


Get the whole HOW TO at Made In a Day 

Picture courtesy: Made in a Day

Tuesday, September 24, 2013

DIY Tuesday: Spooky Pinwheels

I know Halloween is a month away, but good planning always helps

Here's a quick and easy tutorial that I will be making for halloween decor! 
Also a great idea for my daughters' friends at school.

Get the Tutorial at Smart School House


Picture courtesy: Smart School House

Wednesday, October 31, 2012

Stay safe this Halloween


HAPPY HALLOWEEN!

Stay Safe!


Picture courtesy: Taken by me

Monday, October 29, 2012

DIY: No carve pumpkins and crayons


Over the weekend my girls and I got cracking and painted our pumpkins in a riot of colors. Gold, neon green, red and blue.


My girls all geared up to paint!

For thanksgiving (Canadians celebrate thanksgiving in October)  I had bought some miniature white pumpkins that I thought would be great idea to paint. And yes, they do take in the paints rather well. We use acrylic paints to paint them all!


All you have to do is 
Dip crayons in a lighted tea light and immediately dab onto the pumpkin and that's how it looks like.


My daughter painted one in Gold and red

I was busy stamping the crayons.


And here's just the half of the dozen that we painted. Really easy aren't they?


All pictures: Via Me

Tuesday, October 2, 2012

Halloween style statement with Tom Banwell Masks

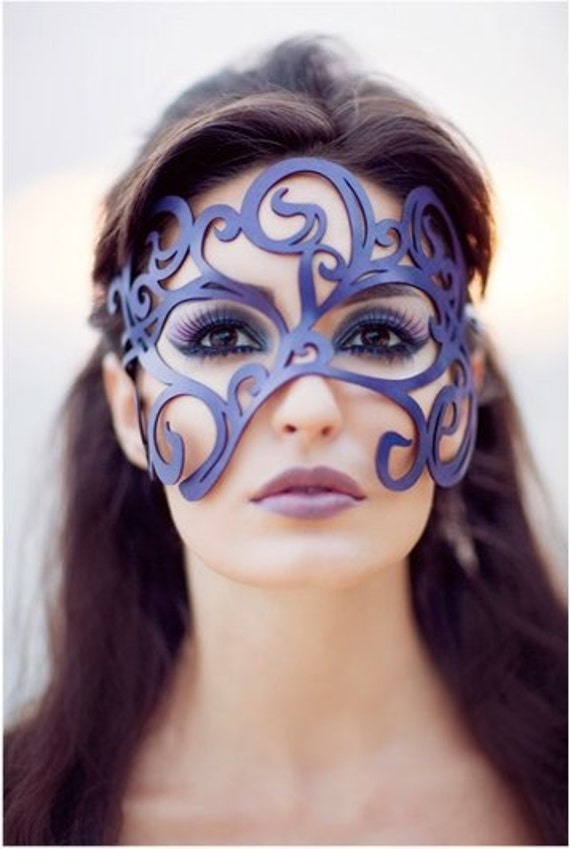
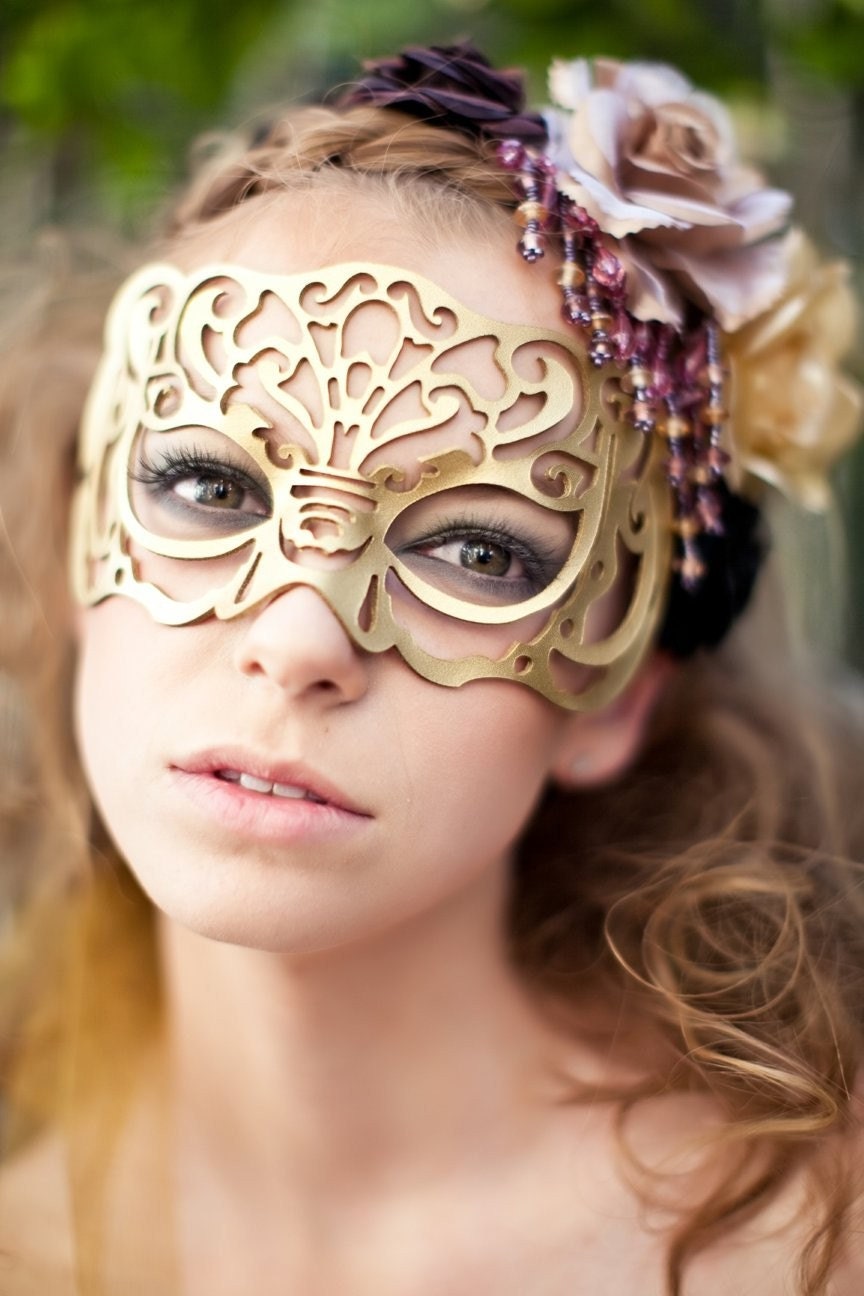
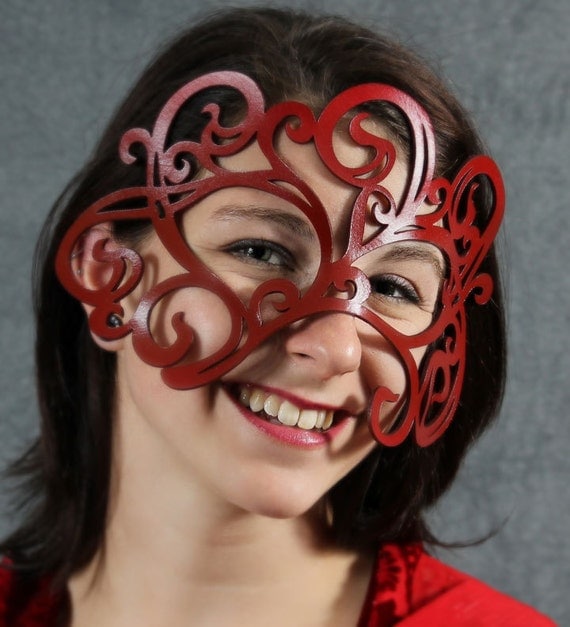
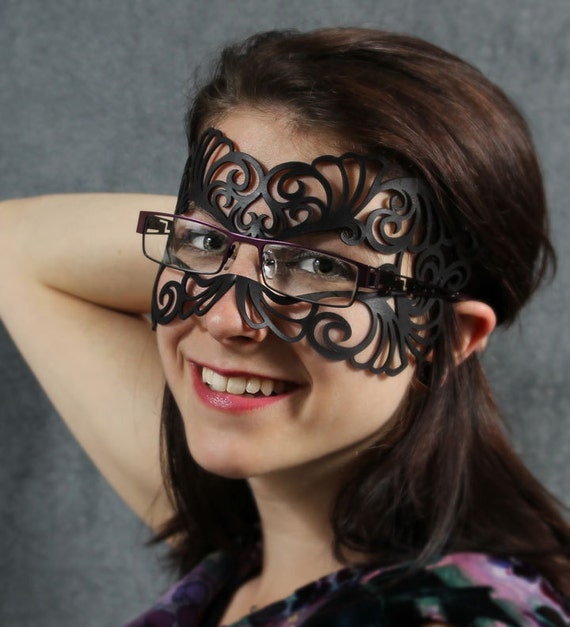
And what are you dressing up as this Halloween? I don't know about you, but I am so excited. I found these great Tom Banwell Masks and the tough thing now is to choose from a great collection! Here are my favorites. I will have to ask my better half what he thinks of them before I buy for the whole family!


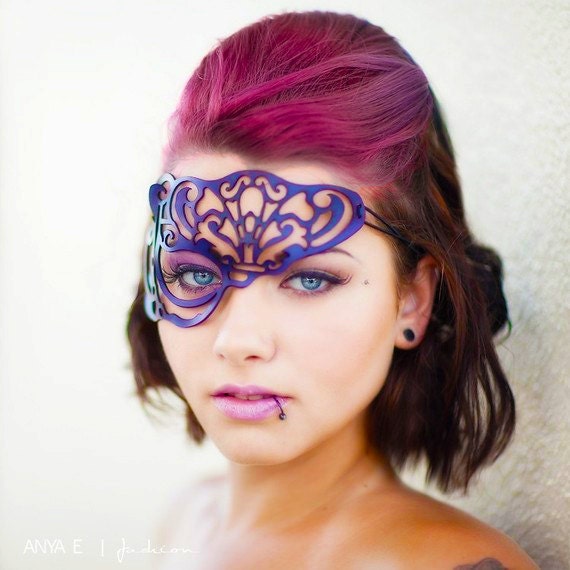
I am a sucker for purple, plum lavender...so this one is my most favorite one!


Gold looks great on anyone. And whatever I plan to dress up as, this would look awesome right?


And how about the lady in the Red mask? She devil? Red riding hood? Hmmm...


Oh and if you wear glasses (like me) they have masks especially to show off your eyes too! Wow!


And here's another one...in purple again but only for one eye. Its stylish! And the eyes have it!


What's your pick? Want to see more...Do SHOP HERE


All photos and picture credits are of TOM BANWELL DESIGNS

Monday, October 31, 2011

Of witches, monsters and goblins

October 31!

Halloween!

So this is how I got the house geared up.

Got some new faces on the mantle!


And black cats and spiders


So BOO AND SCARY ON!


Friday, October 28, 2011

No carve Pumpkin decorations

Here are some easy pumpkin decor that you can do this Halloween.  


1. Paint the pumpkins with an easy cat and owl face


2. A polka dot pumpkin


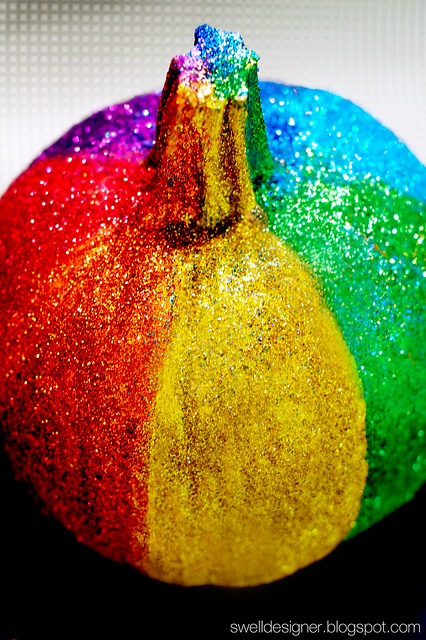
3. Rainbow glitter pumpkin


4. Use Washi tape to glamorise your pumpkin


5. Black and silver painted pumpkin


6. Use lace to decorate your pumpkin


7. Licorice and jelly beans and candy for your pumpkin


8. Add buttons to make an impact


I will be using buttons and paint to help my daughters decorate their pumpkins this halloween! 
Let me know what you did!

Images via
1 2 3 4 5 6 7 8

Sunday, October 23, 2011

Color Splash Sunday: Blue


Decorate your home this halloween with a different color....
How about this beautiful blue handblown glass pumpkin?


Available at AvolieGlass

Dress up  wearing this gorgeous blue scarf with tassles

Available at SoftSurroundings


Thursday, October 20, 2011

Must try recipe...Strawberries and cream

I found this recipe using strawberries and cream here and I really want to try it this Halloween!

Strawberries and cream elves....
or Red Ninjas?


Find the recipe here

Wednesday, October 5, 2011

Easy No Sew Peacock halter tutu

Its October and time again to dress up! Every year its a struggle for me get something new for my daughter and this year for Halloween, I decided she would be a peacock! Honestly, I am no good in stitching so here is a tutorial for a No Sew Halter Tutu.

This tutu tutorial can be used as a dress skirt as well. It all depends on how you want to wear it - on the waist or high up on the chest. Depending on how full you want the tutu to be you can add more fabric.


Things you will need

*Tulle fabric 4 yards each of Indigo blue, Turquoise blue and Bottle green
*Scissors
*Measuring tape
*A reel of matching dark Ribbon 2"inches width

The How to

1. Take the 2" inches ribbon and measure around the chest and mark off. You will be tying this ribbon around your chest and will make a bow. So do not cut the ribbon yet. Now where you have marked off the chest measurements, make a knot on each side.

2. Measure from the armpits to where you want the length of the tutu to be. Double this measurement and add about 2 inches for the knots. Cut the tulle fabric accordingly.

3. Now Roll the tulle fabric individually by color and cut them into 6 inch strips.

4. Now make knots of the tulle onto the ribbon. Alternate colors. Keep the knots close to each other.

5. Keep making the knots until you come to the knot (see step no. 1) made on the ribbon. Once you have reached this, you are ready to cut the ribbon. Cut the ribbon in such a way that you will be able to make a large bow at the back.

6. Now take another fresh piece of the 2"inch ribbon and make a knot in the centre of the tutu. Cut enough to tie and make a bow around the neck.

You are done!

Accessorise with a peacock mask or a peacock feather on the hair.


Related Posts Plugin for WordPress, Blogger...